


What better way to usher in Autumn and welcome the bountiful harvest of Fall than with a spicy pumpkin bowl? And this tasty treat is so fast and easy to bake you’ll be tempted to fuse up an entire field full. Don’t let the subtle shading and intricate details of this piece fool you into thinking this project is time consuming. The beauty of this seasonal bowl is the speed and ease at which you can bring a rich combination of materials together to make a striking arrangement.
To make this elegant pumpkin bowl draw a 10 ½ inch circle on paper. Give your pumpkin shape be adding a few curves to the top and bottom of the circle. Using the pattern as a guide, cut layer 1 out of Marigold. Cut a second piece of glass, for layer 2 the same shape and size out of Yellow patterned glass. Cut a stem shape out of opal green glass for layer 3. Grind the cut pieces and test the fit for accuracy. After grinding, be sure to clean and dry all the ground glass pieces. I use plain water and a cotton towel. A single edge razor blade works well to remove any stubborn glue or paint based marker.

Create lush shadows and contours with frit.
Use a sifter to apply an even layer of red powder frit on top of the marigold layer. Concentrate the frit and make gradual curved lines that accentuate the plump roundness of a vine ripened pumpkin. Use a small, dry paint brush to perfect your curves. Stack the yellow pattern glass on the frit coated marigold base. Add the green stem and fuse. Slump the fused glass in a shallow mold.

Note: The finished size of this delightful pumpkin bowl is 10 ½ inches. The fused glass is slumped into a shallow 11-inch ceramic mold. You can make the pumpkin larger or smaller to fit any size or shape mold you have.

Fusing Guide
Segment 1: Ramp 300 F/hr to 1300 and hold 30 min.
Segment 2: Ramp 500F/hr to 1465 and hold 10 min.
Segment 3: Ramp 9999(AFAP*) to 960 and hold 40 min.
Segment 4: Cool to room temperature.
*As fast as possible
Slumping Guide
Segment 1: Ramp 300 F/hr to 1265 and hold 10 min.
Segment 2: Ramp 9999(AFAP*) to 960 and hold 40 min.
Segment 3: Cool to room temperature.
*As fast as possible
NOTE: Kilns fire differently. Test fire these guides in your kiln, adjust as needed.
Pumpkin Patch Bowl, 10 1/2 Inch
Oceanside Glasstile Uroboros Glass – System 96®
Marigold Opal, 60-355-96, 1 Sq. FT. for Base
Yellow Stringer & Frit on Clear, 13-2602-96, 1 Sq. Ft. for Top
Oasis Green Opal & Dark Green Opal, 60-77-96, Scrap for Stem
Cherry Red Transparent Frit, F1-151-96, Powder
Supplies Dust mask, sifter, 11-inch slumping mold
Check out the Pumpkin Patch Bowl Video! Pumpkin Patch Bowl Video Tutorial https://www.youtube.com/watch?v=VgeNgieip6Y
Happy fusing!
Lisa
Follow my blog for more tips and tricks!
YouTube http://www.youtube.com/watch?v=dhOifd7wukk
Facebook www.Facebook.com/LisaJVogt
Twitter https://twitter.com/lisajvogt
Instagram https://www.instagram.com/lvogt_originalsinglass/

Now Registering!
Sculptural Fused Glass, 4-Day, Hands-on Workshop
October 15-18, 2019
Register www.lisavogt.net
Wesley Chapel, Florida, 4-Day, Hands-on, Class size is limited. Register today!
Exceed your expectations!
This workshop is ideal for ambitious glass fusers determined to go bigger and explore more in-depth kiln forming techniques! Join me in this comprehensive, 4-day workshop and enjoy, one-on-one instruction, step-by-step guidance to develop your own design style and an individualized project program – make what inspires YOU!
This class is for you! Any skill level can attend. Beginner, intermediate and advanced students alike will learn how to advance their glass fusing skills and expand their artistic style. You’ll love the creative momentum you gain from working four consecutive days.
Materials are included, that’s a $150.00 value! Plus, a professional photo shot of your artwork is also included.
You’ll leave class with several completed glass sculptures, my custom firing guides and a deeper understanding of sculptural fused glass fabrication. You’ll have the knowledge, confidence and inspiration you’ve been craving to take your artwork to the next level.

Creative Slumping Webinar
November 19, 2019
Reshape the way you slump and drape glass!
See how thinking outside the box and using readymade molds in new ways offers numerous and exciting opportunities to produce unique forms. Learn how to make your own graceful, free-form shaped molds from readily available materials. Learn how to use these different new approaches, in combination, to transform ordinary projects into inspiring, sculptural pieces of art!
You’ll learn how to make your own graceful, free-form shaped molds from readily available materials with no laborious measuring or messy mixes needed. Taking you one step further, I’ll show you how to use these different approaches, in combination, to transform ordinary projects into inspiring, sculptural pieces of art!
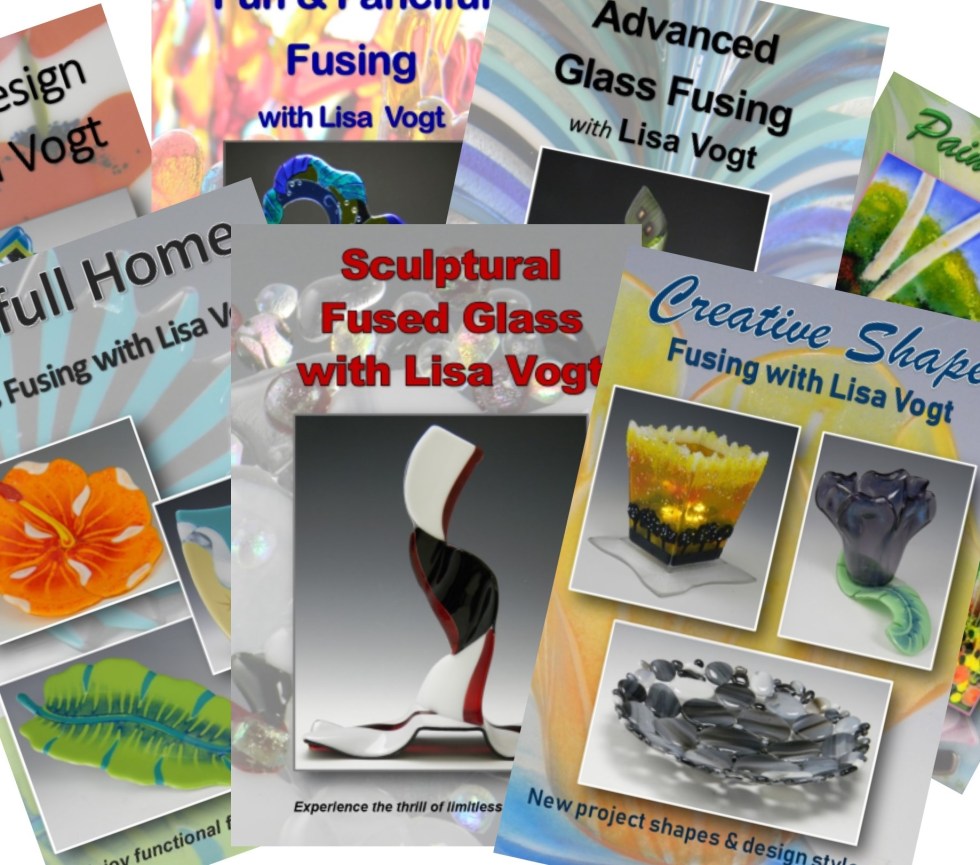
Watch it NOW! Start fusing today! Downloadable instructional videos for every skill level.

Check out my eBooks for elegant patterns and detailed fusing instructions.


