Artists are the most generous people I know. We love to share our passion. We all want to make a more dramatic and memorable impression with our art. One of the bests ways to accomplish this is to go bigger and make large scale pieces that stand out from the crowd.
But going bigger can be scary. You have to invest more time and material. And there are more design decisions to make. It’s a huge commitment and you want guarantees that the finished piece will exceed your expectations. Following are some fundamental tips that’ll greatly increase your success with all your fused glass artwork.
1 Measuring the Slumping Mold
It seems trivial, but this is where most craftsman go wrong. Everyone wants to make the largest fused glass disc possible. They then measure the mold from the outer rim to the outer rim and cut their glass circles accordingly. They wrongly assume the glass that rests on the top rim of the mold will follow the center of the fused glass disc as it slumps into the mold. The problem is the glass on the flat rim drags.
Therefore, it does not fall into the mold evenly. The result is a bowl with uneven height in the side walls. A lopsided bowl can be avoided simply by measuring across the inside of the mold and then cutting the glass ¼ to ½ inch smaller than that measurement. Yes, the bowl is slightly smaller. No one will notice. They’ll be too busy admiring your beautifully crafted, uniform bowl with even side walls all the way around.
2 Durability is in the Design
When going larger it’s important to design your art in such a way that the glass thickness is uniform throughout the entire piece of art. If you design the round disc with two glass layers on one side and four glass layers on the opposite side, you’ll have unbalanced mass. This can cause the finished piece of art to break due to the stress of supporting its own weight. Instead, plan your design execution in advance to ensure you have the same number of glass layers across the entire disc. Small accents pieces decorating the top aren’t a concern, provided they’re added in moderation.
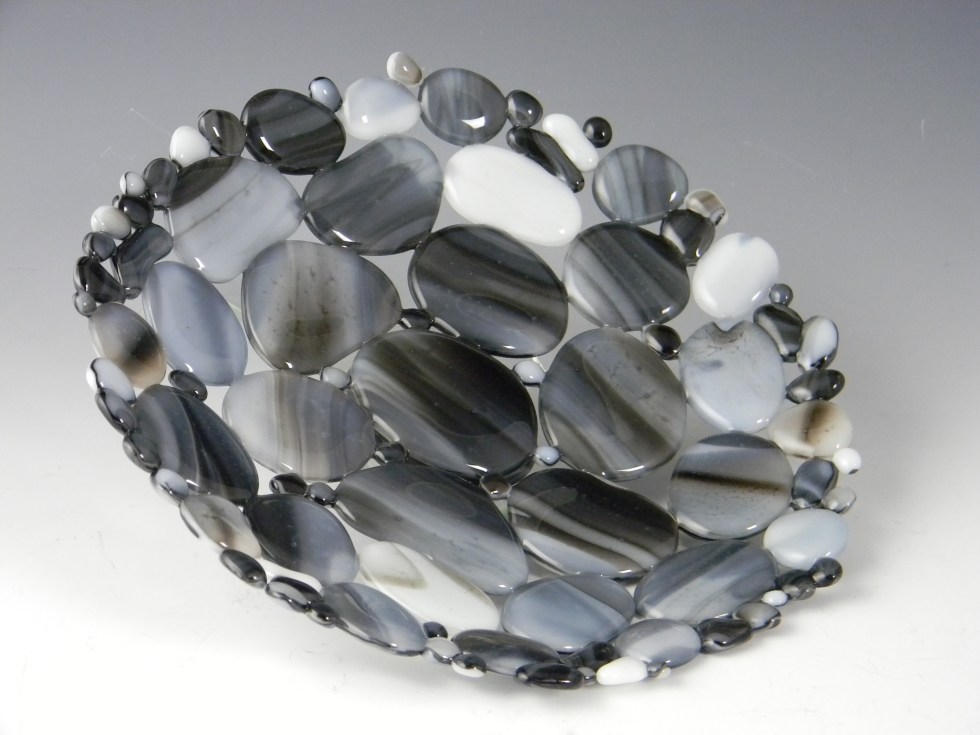
3 Let it Shine
The beauty of glass is its transparency, and the attraction of glass fusing is our ability to mix transparent and opal materials, to create various color combinations and an infinite number of intricate patterns. The wonderful thing about going large is the extended size of the creative canvas. With more room, you have more opportunity to expand your design ideas and make a dynamic statement. So rather than fumble through, take time to plan a well thought out design. Consider including pre-tacked or fused glass components for added interest. Mix both transparent and opal glass to increase visible depth. The possibilities are endless.
4 Do Your Best Work
Don’t cut corners. No excuses. If you think to ask, “Should I recut or redo this?” My answer is, “Yes.” The more time and effort you put into each step will greatly improve the overall quality of your finished pieces. Fabrication and execution are equally as important as design esthetics. If you implement this approach, every piece you produce will be a masterpiece.
5 Fusing and Slumping
Slow it down. Larger usually also means thicker. You’ll dramatically increase your firing success rate by slowing down both the fusing schedule and the slumping schedule. I fire my large pieces at 300 degrees per hour and hold several times on the way up to 1465 degrees to fuse, and 1220 degrees to slump. I anneal the glass at 960 degrees for 180 minutes, for both fusing and slumping, and then slowly drop the temperature down to room temperature. By being conservative with the firing schedules, I achieve consistently beautiful results every time. You can too!
Happy Fusing!
Lisa & Niki
Follow my blog for weekly inspiration sent to your inbox!


Artwear Designed for Artists by Artists Tell them how you really feel with bold T-shirts, Eco-conscience tote bags and sassy mugs.


Downloadable instructional videos for every skill level.