


Fruits of Our Labor Vlog 13
Vlogging is Niki’s idea. She’s my vlog creative director. She videos my routine activity, or my project development processes while I’m in my glass studio. It hadn’t occurred to me that sharing my everyday activity with you would be so fun and have so much educational potential.
The other aspect that surprised me is how much time and effort I put into learning myself. I’ve always enjoyed developing new techniques and design ideas. It’s not work. It’s play.
The length of time and extensive testing I dedicate to achieve my artistic goals is plain in the flower and mushroom cap vlog series. I do extensive firing tests like this all the time. But I conducted them in between other project firings. Up until now my project development steadily moved forward without getting any special attention. Now that I documented my creative process it has even greater instructional value for me and by extension you. That’s exciting!

Let’s start at the beginning.
I purchased 2 new 5-inch ceramic fluted mushroom drape molds that I had never used before. I wanted to make flowers not mushrooms. I purposely did not consult the manufacturer’s directions. I wanted to developed my own shape without being influenced by what everyone expected to get using the mold. Right or wrong. Easy or hard. I’d learn what worked for me along the way.
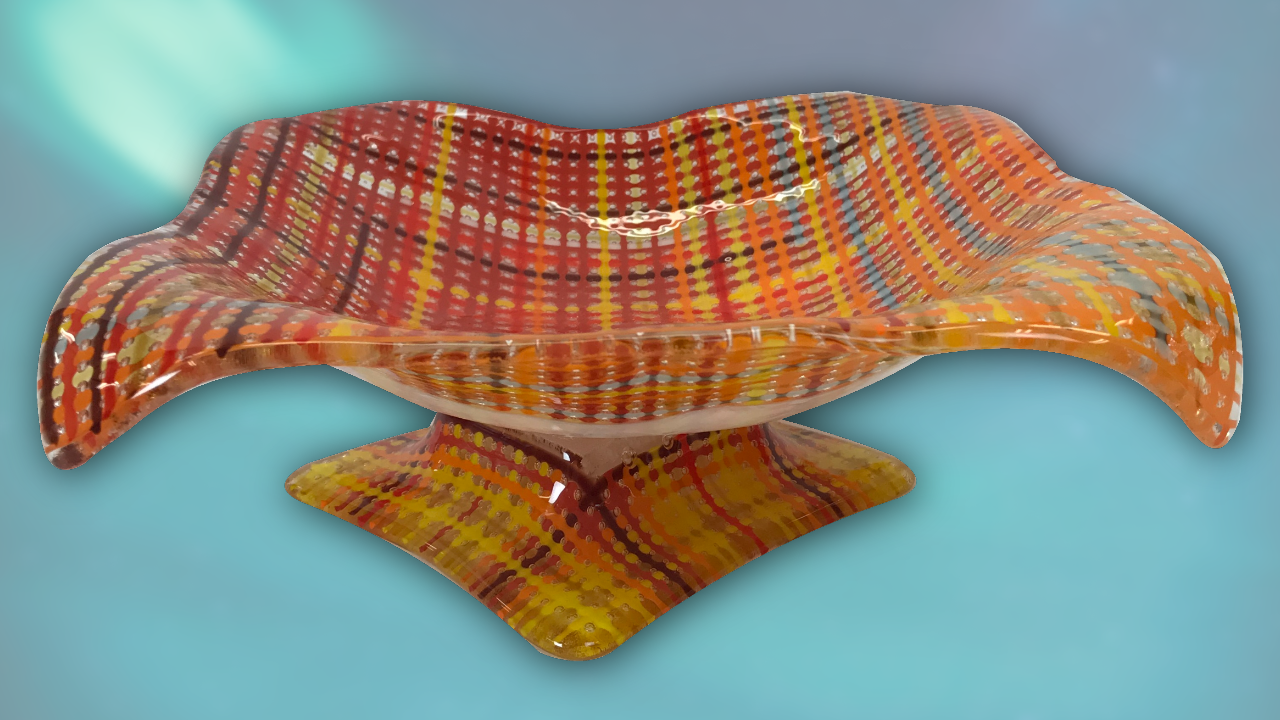
I measured the molds and cut clear glass circles based on my experience with drape molds. The first circles were 6 inch. (I use clear fusible glass for my testing because it’s the least expensive glass.) I draped the glass using a firing guide I wrote, based on my years of experience. The results were disappointing. The glass draped like a bad taco shell, plus the glass blank was too big. It looked nothing like a flower or a mushroom!

Try again.
I cut a new clear glass circle to 5 ½ inch and I designed a five star shape that loosely resembled a flower. I adjusted my firing guide and tried again. I fired 5 unsuccessful sets of clear glass. I grew tired of my inconsistent results with the plain clear glass, but I didn’t give up.
I reshaped my flower design and added frit to give the clear glass color. I also added notches to separate the petals. I adjusted my firing guide again adding more and longer hold times. The new flower shape with the color and notches worked great. I wasn’t totally unhappy with the draped shape of the round glass either. I thought, if I added pattern and color, maybe I’d actually like the round pieces as mushroom caps.

The increase in hold times caused the flowers to stick to the primed ceramic mold. On the next firing I cut ThinFire fiber paper to size and placed it between the glass flower and the mold. It worked like a cushion and prevented the glass from adhering to the ceramic mold. I finally had success and draped flowers I really liked. I also really liked the addition of color to the mushrooms caps. Instead of plain and boring, they are lively and bold.
Now what?

My next challenge was to figure out how to display the draped flowers and mushroom caps artistically and safely. I’ve had good luck bending and shaping thin copper tubing in the past. It’s flexible yet sturdy and it’s easy to cut with pliers or a hack saw. I cut a piece of tubing to length then flatten about 1 inch of one end with a hammer. Then I glue the flat area to the glass with E6000 adhesive. It works great and I love the curvy flower stems I’m able to create.

I took the mushroom caps to my home improvement store to look for something to make study stems. I tested the fit on 8 inch nails. The head of the nail fit perfectly inside the mushroom cap. I liked the length and thickness of the nail with the draped glass. The proportions were pleasing, and the silver color added interest. Back in the studio I glued the mushroom caps to the nails with E6000. Overall, I’m very happy with the outcome. The flowers and mushrooms are welcome bright, cheerful additions to my garden.

This is just the beginning.
I’m not stopping here. Everything I learned during this lengthy process will be put to good use in the development of my new Premium Video Membership projects. I’ll keep blazing new trails and bringing you along for the ride. We’ll learn and nurture our artistic spirit together, while having fun making amazing new pieces of art.
Flower & Mushroom Cap Include Vlog 7, 8, 9, 10, 11, 12 &13
Happy Fusing!
Lisa & Niki
Follow my blog for weekly inspiration sent to your inbox!
Become a Premium Video Member


NEW Artwear T’s are here!

Artwear Designed for Artists by Artists Tell them how you really feel with bold T-shirts, Eco-conscience tote bags and sassy mugs.


Downloadable instructional videos for every skill level.


 Fairy Tale Forest from my Painting with Frit Video


