


Colorful eggs are a cheery symbol of spring. The oval shape is simple yet elegant which makes it a terrific profile for decorating. Best of all, this little darling can be used to brighten your home year-after-year.
Sometimes, it’s fun to start a project with a blank canvas. I leave expectations at the door and let my materials inspire my design. This relaxed approach allows me to enjoy the purity of the process, and happily get lost in my work.
You can get happily lost in your work too. I’ll share how I made my design, but I encourage you to add your own touches. Change the pattern a bit to make something that reflects your personal taste and design style.

Egg How-to:
Cut an oval shaped base out of clear glass. Cut strips of opal glass colors, of your choice, for the design layer. Cut a variety of widths for a more visually interesting combination. Arrange the strips on the clear base. Tuck twisted cane between some of the cut glass strips for an airy, three-dimensional look. Cut the glass strips and twisted cane to size. Mosaic nippers can be used to cut the cane.

Glue the design layer to the base layer with a small amount of fuser’s glue.
To make the accent layer, cut murrine rods into ¼ inch long pieces with mosaic nippers. Arrange the murrine on the design layer to make springy flowers and cute dots. Add twisted cane for a more elaborate pattern. You can also include stingers, noodles, nuggets and dichroic glass bits to liven up your design.

Full fuse the assembled project using the firing guide below.

Slump the fused glass egg in a mold using the firing guide below.
Here’s another fun design idea made by Niki’s creative boyfriend, Matt Vanschaik.

Enjoy your cheery, hand-decorated egg all season long.
Spring egg: 8 inch x 11 inch oval
Base: Clear glass
Design Layer: Assorted opal colors & twisted cane
Accent Layer: Nipped murrine & twisted cane
I used Oceanside 96 glass to make this project. You can use my firing guides for other CEOs and get the same great results.
Fusing Guide
Segment 1: Ramp 300 F/hr to 1300 and hold 60 min.
Segment 2: Ramp 500 F/hr to 1465 and hold 10 min.
Segment 3: Ramp 9999(AFAP*) to 960 and hold 40 min.
Segment 4: Cool to room temperature.
*As fast as possible
Slumping Guide
Segment 1: Ramp 300 F/hr to 1265 hold 10 min.
Segment 2: Ramp 9999(AFAP*) to 960 and hold 40 min.
Segment 3: Cool to room temperature.
*As fast as possible.
NOTE: Kilns fire differently. Test fire these guides in your kiln and then make adjustments as needed.
Watch the Spring Egg video here: https://youtu.be/2MMz34BNwaQ
Happy Fusing!
Lisa
Follow my blog for more tips and tricks!
Website www.LisaJVogt.com
YouTube http://www.youtube.com/watch?v=dhOifd7wukk
Facebook www.Facebook.com/LisaJVogt
Twitter https://twitter.com/lisajvogt
Instagram @lvogt_originalsinglass
NEW Instagram through_the_artists_lens
NEW Webinar Dates

Upscale Fusing Webinar April 14, 2020
Register here: https://www.glasspatterns.com/glass-patterns-quarterly-store/product/1443-upscale-fusing-with-lisa-vogt-april-14-2020.html
Incorporating pattern and texture to elevate and refine your fusing style are the focus of this in-depth webinar. Join me and learn how to tastefully blend various cutting-edge techniques to add dimension and volume to your work. With the pro’s secrets revealed, you’ll be on the fast-track to developing winning combinations that’ll get your work noticed!

Fusing for the Adventurous Webinar June 9, 2020
Register here: https://www.glasspatterns.com/glass-patterns-quarterly-store/product/1449-fusing-for-the-adventurous-with-lisa-vogt-june-9-2020.html
Get ready to push boundaries, challenge trusted techniques and enjoy the thrill of limitless possibilities. Join me in this comprehensive hands-on webinar and learn how easily you can put tried and true methods to use in unlikely, innovative ways to create original art.
You’ll learn how to successfully employ different techniques to produce dramatic effects and take your work to an exciting, new level of sophistication.
Beginner and advanced fusers alike will find inspiration, motivation and renewed artistic freedom from the combination of techniques shown. In addition, you’ll receive a detailed outline with project specific guidelines and my custom firing guides.
Armed with your newfound skills, you’ll be eager to experiment and incorporate these techniques to turn your creative visions into reality. You’ll have the burning desire, and the cool confidence, to take your passion to greater heights.

Now Registering!
Sculptural Fused Glass, 4-Day, Hands-on Workshop
September 22-25, 2020
Register today!
Only 3 seats available
Register www.lisavogt.net
Wesley Chapel, Florida, 4-Day, Hands-on, Class size is limited.
It’s hard to describe what it’s like when I’m feeling the creative flow. Time flies. Hours pass in what I thought were minutes. My naturally distracted mind is focused on what my hands are doing, and nothing else. I get lost in my own world. When I return to reality, I feel rejuvenated and spiritually uplifted. That’s why I like sharing my studio space with others. I try to give them that experience and hope they feel the same inspiration and fulfillment I do. -Lisa
Join me and I’ll show you all the pro tips and tricks I use to make stunning 3-dimnesional art. You’ll learn how to combine advanced techniques in new ways to create extraordinary sculptural pieces of art.
You’ll leave class with several completed glass sculptures, my custom firing guides and a deeper understanding of sculptural fused glass fabrication. You’ll have the knowledge, confidence and inspiration you’ve been craving to take your artwork to the next level.
Materials are included, that’s a $150.00 value! Plus, a professional photo shoot of your artwork is also included.
This is the turning-point workshop you’ve been waiting for.
Here’s what the students are saying about the workshop.
“Instruction was clear, help was always available, and Lisa’s explanation of the equipment was great.” -Sherry
“My favorite thing about the class was the friendly atmosphere that encouraged open thoughts and sharing ideas.” -Lyn
“I enjoyed making all the projects, especially the flow piece and the freedom to be creative with our work.” -Joy
“My favorite thing about the class was the ability to see multiple pieces of art that originated from concepts taught.” -Vicki
“Lisa is very professional, knowledgeable and freakishly talented. House, art, mosaic, her work – really fun and beautiful.” -Lorna
“Incredible class. Lisa shared her artistic knowledge of color flow and her technical knowledge of glass.” -Larry
“I had so much fun! Lisa is a great teacher!” -Brenda
This class is for you! Any skill level can attend. Beginner, intermediate and advanced students alike will learn how to advance their glass fusing skills and expand their artistic style.
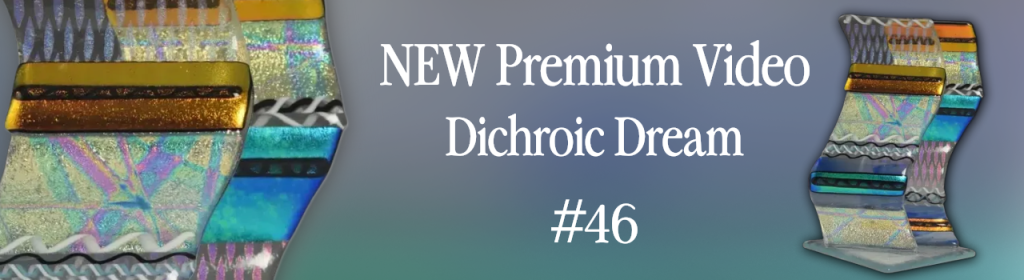
Watch it NOW! Start fusing today!
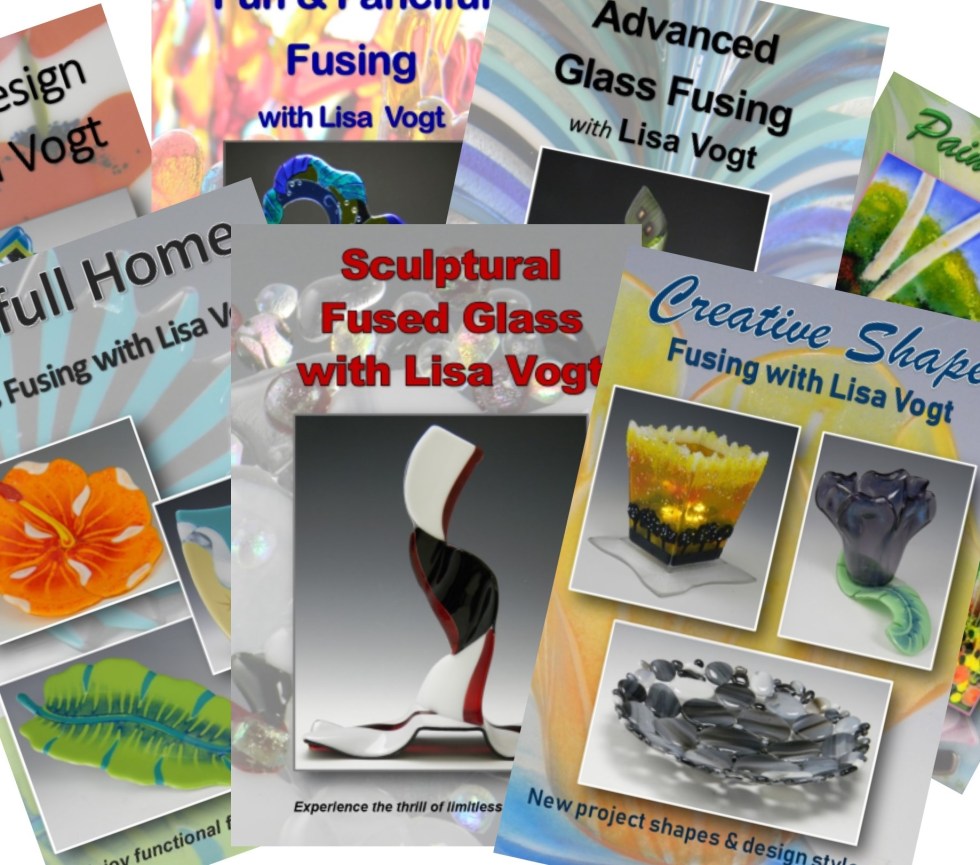
Downloadable instructional videos for every skill level.

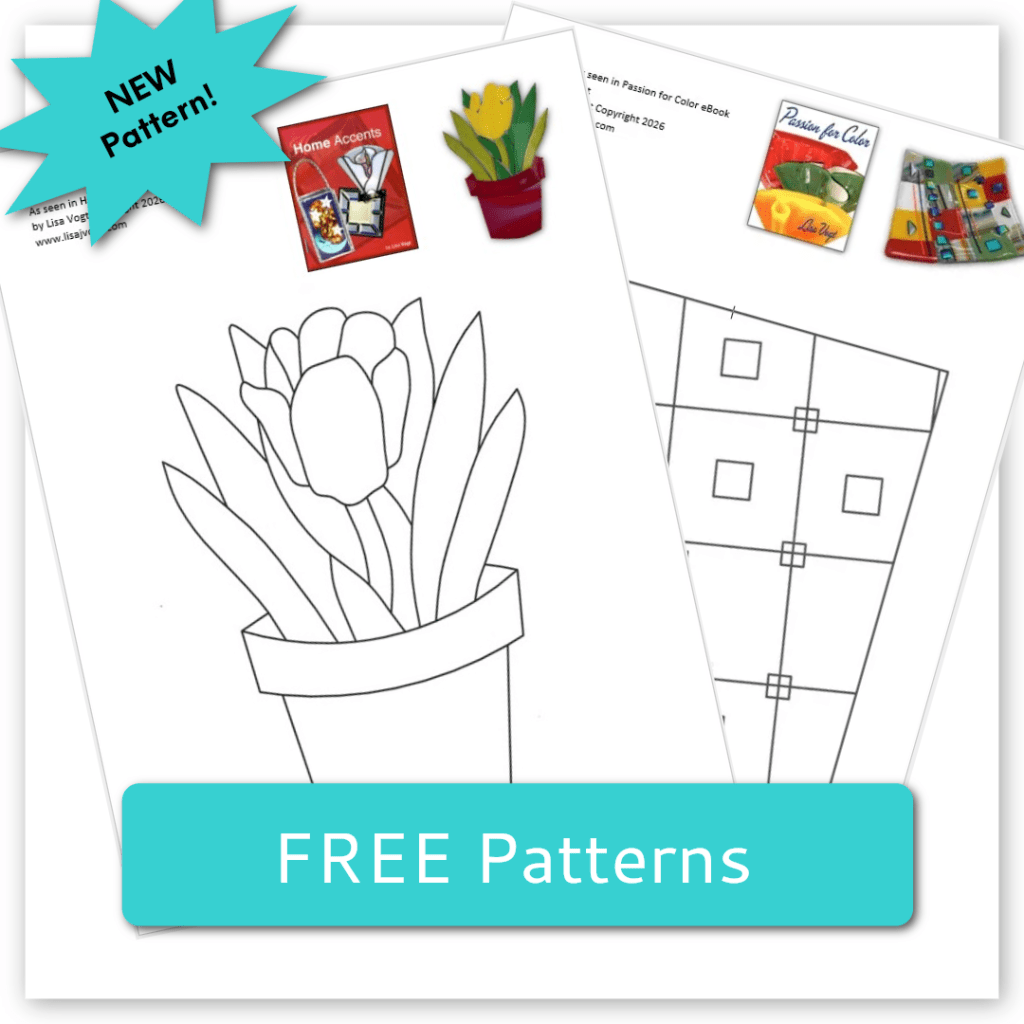
Check out my eBooks for elegant patterns and detailed fusing instructions.


Thanks Lisa for the new idea. Think I may make a few and leave them in the neighborhood.
That’s a idea! Enjoy!