


The magical thing about glass fusing is you can work with the same materials for years and all it takes to fascinate you again is the introduction of a new component. The round Christmas ornament is far from a unique design. But add a new twist, a little bling and amazingly you have a delightfully fresh version of an old favorite.
At this hectic time of year, we’re all looking for fast and flashy projects that make great gifts. These easy to make ornaments are your ticket to wonderfully productive studio time. What makes these simple pieces so attractive is the paring of traditional holiday colors along with lively patterns.
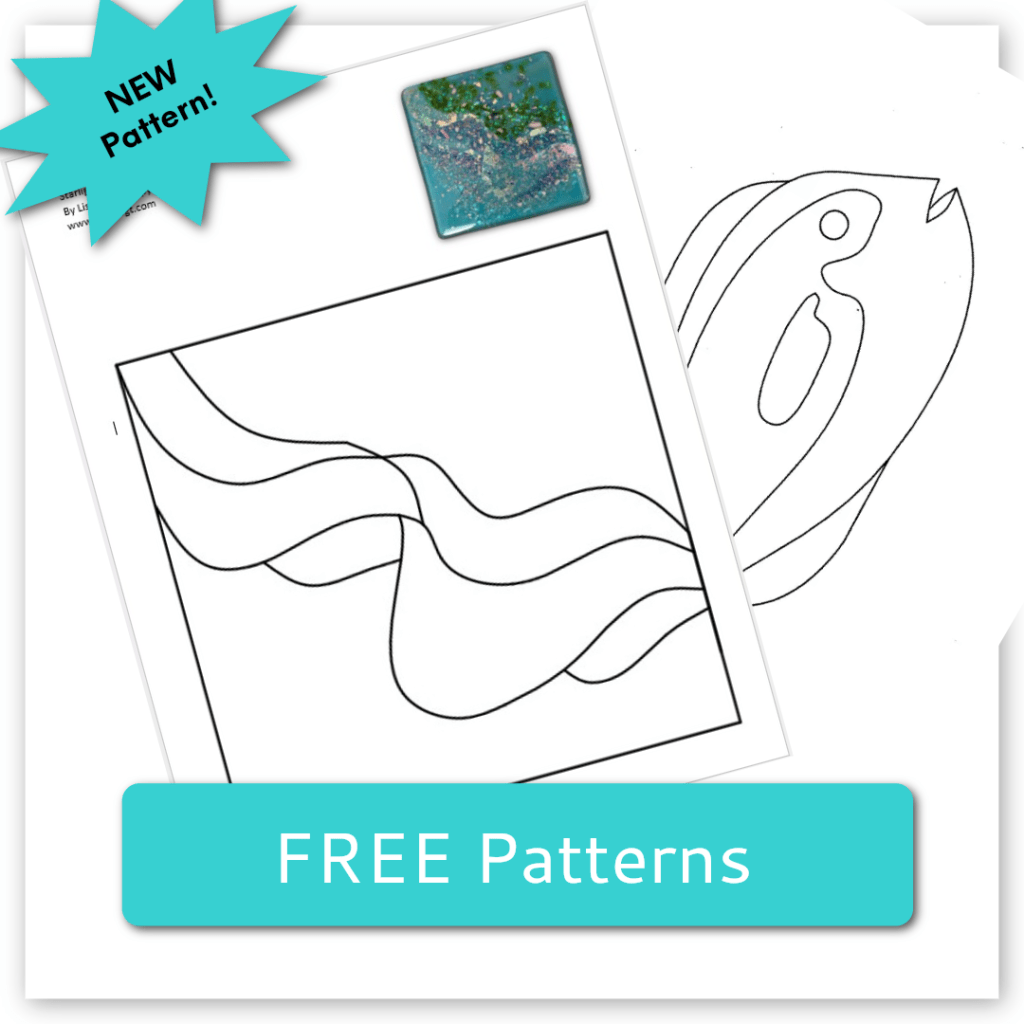
Making the Ornament Bowl
Begin by cutting a 9-inch circle of clear glass for the ornament base. Cut 2 clear pieces of glass to represent the bail of the ornament. Select your murrine and cut it into 1/8-inch-long bits with mosaic nippers. Choose your holiday colors and cut them into strips. Arrange the strips on the clear base. Separate the cut strips with twisted cane. For added interest, include a strip of murrine.
Then, just for fun, rearrange your materials. Try different combinations until you have a pleasing pattern. I love this spontaneous type of assembly as it always produces a more dynamic design than I originally imagined.
Using a 9-inch round paper pattern as a guide, draw the circle shape on the strips and cane with a marker. Cut the strips and cane to fit neatly on the clear base glass. Cut clear dichroic to represent the bail of the ornament.
Cut narrow strips of dichroic on clear. Arrange the dichroic strips on the wide band of color to make the snowflakes. Be sure the dichroic coating side is down so it won’t scratch when the bowl is used.
Place the assembled glass in the kiln on a primed or shelf paper lined kiln shelf. Stack the 2 clear bails beside the circle. Overlap the white and the clear bails with the dichroic bail to bridge the parts when fused.

Making the Dichroic Ornaments
I plan to use these little beauties as festive spoon rests in the kitchen. The dichroic coating is fragile and will scratch if not protected by clear glass. When making functional art with dichroic glass, I assemble the projects differently. Unlike the first ornament, which was built on a clear base, the base of these small decorations will be made up of pieces. The pieces will then be capped with a single piece of clear glass to ramp up the dichroic colors and protect the coating from scratches.
Begin by cutting 4-inch circles out of clear glass. Cut 2 bails for each of the ornaments out of clear glass. Set the circles and bails aside. Cut a fun assortment of 4-inch squares of dichroic on black into strips. Rearrange the strips to make four unique ornament designs. Add a few twisted canes for a lacy effect. Turn any textured glass strips over. Using the clear circles as a guide, trace the circle shape on the back of the dichroic strips with a silver marker. Cut the glass and cane to match the circle. Turn the cut glass over and rearrange the strips and cane. Cut a bail for each ornament out of dichroic on clear.
Place the dichroic and cane layer in the kiln on a primed or shelf paper lined kiln shelf. Cap the dichroic glass with the 4-inch clear glass circles. Stack the 2 clear bails beside the glass. Overlap the clear cap and the clear bails with the dichroic bail to bridge the parts when fused.

Full fuse all five ornaments using the guide below.
If any of the circles are uneven, grind the edges as needed to improve the shapes.
Place the fused glass in slumping molds. Slump using the guide below.
I love including functional art in everyday life. And the kitchen, being the hub of family activity that it is, is a great place to enjoy personal, hand-made holiday decorations.

Fusing Guide
Segment 1: Ramp 300 F/hr to 1300 and hold 30 min.
Segment 2: Ramp 500F/hr to 1465 and hold 10 min.
Segment 3: Ramp 9999(AFAP*) to 960 and hold 40 min.
Segment 4: Cool to room temperature.
*As fast as possible

Slumping Guide
Segment 1: Ramp 300 F/hr to 1265 and hold 10 min.
Segment 2: Ramp 9999(AFAP*) to 960 and hold 40 min.
Segment 3: Cool to room temperature.
*As fast as possible
NOTE: Kilns fire differently. Test fire these guides in your kiln, adjust as needed.
Here’s the glass I used to make these ornaments.
Glitzy Ornament Bowl, 9 Inch Round
Oceanside Glasstile 96
Clear, 100SF, 1 Sq. Ft. for Base
White, 200SF, ½ Sq. Ft for Design
Dark Green, 220-76SF, ¼ Sq. Ft for Design
Flame 60-602-96, ½ Sq. Ft. for Design
Twisted Cane, Assorted colors, 17 for Design
Murine, Red, White & Green, 1 for Design
CBS Dichroic on Clear, Scrap
Glitzy Ornament Dishes, 4 Inch Round
CBS Dichroic on Black
Assorted colors, 4 – 4 Inch x 4 Inch for Base Layer
Clear, 100 SF, 1 Sq. Ft for Second Layer
Ceramic Slumping Molds
1 – 10 Inch x 10 Inch Square
4 – 4 Inch x 4 Inch, Square

Happy fusing!
Lisa
Follow my blog for weekly inspiration sent right to your inbox.
2022 Is Our Year for Fusing!
Upcoming Webinars

Watercolor Technique and Advanced Fusing Webinar
January 13, 2022
Learn how to make gorgeous, vividly decorated nature themed fused glass designs in this comprehensive webinar.
Master the art of design, pattern, and color.
Join me and see how quickly and easily you can ramp up the visual intricacy of your work in just a few steps. I share my personally developed, “watercolor style,” approach to shading and highlighting glass. Using glass powders and frit, you’ll be able to create the illusion of depth and a subtle imagery that results in a soft, painterly look.
You will love the easy-to-follow instruction and seeing how I create elaborately detailed works of art with a gorgeous three-dimensional flair.
In this webinar you will learn how to use advanced artistic techniques like a pro. Beginner, intermediate and advanced fusers alike will enjoy applying the many simple, yet effective techniques I share in this in-depth, live event.
Plus, as a special bonus I include step-by-step instruction on how to use failed projects. I explain in detail how to solve problems and how to ensure successful projects moving forward.
I also include my custom firing guides, project patterns and materials list in PDF form. You will be fired up and eager to apply these new techniques to enhance the beauty and charm of your work.

DIY Pendant Lights Wee Webinar
February 1, 2022
Design, fabrication and installation by Jake and Jessie Battin
Custom pendant lights are a wonderful way to add a custom, personalized touch to your family’s hub, the kitchen. In this special event I will share treasured fun and creative family time in my glass studio with you. You’ll follow the design and construction of a beautiful pendant light as my daughter and son-in-law dive deep into the world of glass fusing to create beautiful art to light the loving center of their new home.
In this concentrated, live event you will learn how to make a fused glass pendant light from start to finish. I’ll show you step-by-step how to create an attractive design, how to cut large glass circles, and how to create three-D design elements that pop. In addition, I’ll share project specific firing guides I developed to successfully fuse, tack and drape pieces with an intricate free-form shape.
As a bonus, we’ll share images of our ugly, but lovable, test piece. You’ll learn why we didn’t like it and how we adjusted the project assembly and firings to achieve the results we wanted.
Plus, we’ll show you how easy it is to drill the hole needed to accommodate the light fixture.
Also included, you’ll receive a tools and materials list that includes detailed information about the draping mold, the glass drill bits, and the lighting fixtures we used.
All DIY creative enthusiasts are invited to attend. Enjoy the thrill of renewed inspiration, motivation, and artistic freedom after seeing how easy it is to add your own personal, artistic touch to your home.
Are you a lifelong learner?
As a life-long learner myself, I know it sometimes takes a change of scenery, a challenging new educational experience, and the encouragement of an experienced instructor to advance my skills and help me grow.
Are you ready to grow?

NEW DATE FOR 2022!
Sculptural Fused Glass, 4-Day, Hands-on Workshop February 22 – 25, 2022
Only 2 seats available
This is the turning-point workshop you’ve been waiting for.
This is the turning-point workshop you’ve been waiting for.
It’s hard to describe what it’s like when I’m feeling the creative flow. Time flies. Hours pass in what I thought were minutes. My naturally distracted mind is focused on what my hands are doing, and nothing else. I get lost in my own world. When I return to reality, I feel rejuvenated and spiritually uplifted. That’s why I like sharing my studio space with others. I try to give them that experience and hope they feel the same inspiration and fulfillment I do. -Lisa
This class is for you! Any skill level can attend. Beginner, intermediate and advanced students alike will learn how to advance their glass fusing skills and expand their artistic style.
Join me and I’ll show you all the pro tips and tricks I use to make stunning 3-dimnesional art. You’ll learn how to combine advanced techniques in new ways to create extraordinary sculptural pieces of art.
You’ll leave class with several completed glass sculptures, my custom firing guides and a deeper understanding of sculptural fused glass fabrication. You’ll have the knowledge, confidence, and inspiration you’ve been craving to take your artwork to the next level.
Materials are included, that’s a $150.00 value!
May 2021 Student Testimonials
“My favorite thing about the class was the creative freedom – we were not required to make the same thing the same way. I was surprised by the variety and number items we made and the flexibility we had to go our own way with our projects. The glass studio was very comfortable and very clean with plenty of room.” -Ron
“My favorite thing about the class was the projects were tailored to our interests with user specific glass choices and design options. This makes the best type of learning environment. I loved the continued technical information that was used in daily discussions. Loved the amount of space we had for working and the use of top-quality tools and the hands-on assistance Lisa gave each one of us. You will hear and see me again. Thank you for your time and talent.” – Donna
“My favorite thing about the class was the creativity – putting things together in new ways – using different materials – and how welcome I felt. I was surprised how much we were able to get done and by Lisa’s ability to coach those of us on different levels. My least favorite part was that the class ended. The classroom setup was excellent – well organized. I really feel like Lisa gave me the tools to advance to a new level. It was worth the cost of the workshop, airfare, B&B, animal care and house sitting! Can’t wait to put what I leaned into practice and return for another workshop.” -Sue
Read more student testimonials on my website.
You Asked For It!

Here’s the class you asked for.
Advanced Glass Fusing 4-Day, Hands-on Workshop March 22 – 25, 2022
In this class, you will push the boundaries art glass imposes. Students will explore innovative approaches to design and combine multiple advanced techniques to construct original art that reflects their own personal style. You’ll enjoy: the one-on-one instruction, making multifaceted projects, the well-equipped classroom, and the intimate class size.
You’ll love the concentrated, in-depth study and creative momentum you’ll gain while actively producing, nonstop for four consecutive days. You’ll leave class with a working knowledge of kiln operation, custom project specific firing guides, and the inspiration you’ve been craving to go bigger and do more elaborate works of fused glass art!
Join me for this intense workshop held in my private studio.
Wesley Chapel, Florida, 4-Day, Hands-on, Class size is limited.
Join me and take your glass fusing to the next level!

Artwear Designed for Artists by Artists Tell them how you really feel with bold T-shirts, Eco-conscience tote bags and sassy mugs.


Get it now! Start fusing today!
Downloadable instructional videos for every skill level.

Instructional eBooks for every skill level.