Posted on Leave a comment

3 Skills that Take Artists Farther than Talent

1 Flourishing

Talent is a wonderful gift. I believe everyone excels in some area. It’s outwardly obvious in some people like athletes, actors and artists. While talent is quieter in mathematicians, literary types and scientists. But everyone has a special area of interest where they shine.

You might be the most talented glass artist in the world. But if you’re creating art alone in a closet, you’ll never be recognized for your incredible work beyond your front door. If you’re content creating for yourself, hurray for you. Carry on. Enjoy!

But if you crave a wider audience for your creations, it takes more than talent to be successful in today’s marketplace. You must bring the whole package.

DSCN3655

  1. Soft Skills

Soft skills are your personality in action. They’re the dynamic energy and presence you bring to the room.

Are you happy, friendly and outgoing? Do you engage others with the intention of making them feel comfortable? Do you include everyone? Do you treat everyone, from the trash collector to the CEO, with the same courtesy and respect? Do you openly smile and offer a handshake? These traits make you a person, more than just a contact, co-worker or hired help.

Soft skills will take your farther than anything else. This is not to say you don’t need to know your craft and your business, you do. But your ability to engage, get along and communicate with others is paramount. How you treat others, how you work with others and how you handle unexpected problems all contribute to becoming a valuable, sought after artist.

No one wants to work with a prima donna artist for long. Sure, she’s entertaining for a while, but the unpredictability is exhausting and unprofessional.

If you’re shy, you can develop a stronger presence. Start with eye contact and a sincere smile.

cropped-DSC_0249-1.jpg

  1. Patience and Perseverance

You may not know this, but my glass roots are grounded in stained glass. This year I celebrate 36 years of glass crafting. My husband and I owned and operated two art glass studios for 20 years. At that time, we sold 500 different pattern book titles in our stores. I wanted to be a pattern book author, so I approached a publisher. I was rejected because my drawings were immature.

At first, I was disappointed, then angry. And then I was driven to prove to myself I had what it took to be published, and to sell. It took a few years before I tried again, this time with a different publisher. My first book, Tropical Teasers came out in 1999. I was basking in the glow of my first title when a customer told me, anyone can be a flash in the pan. Over the next 12 years I went on to publish 14 books. This flash is still sizzling!

The biggest dream killer is stagnant waters.

I make a plan, then outline the steps needed to accomplish my objective. I try to make tiny steps toward my goal every week. Any forward momentum is better than no progress at all. When I’m overwhelmed and frustrated that nothing is getting done, I make a list of recently completed projects. I’m always amazed how much actually has been accomplished. Don’t give up. The journey is part of the adventure.

DSC_0518 - Copy

  1. Self-Promotion

Don’t run away screaming. This is not an evil topic and it’s easier to implement a strategy than you think.

Invest time in an artist website. It doesn’t have to be fancy or expensive to be effective. There are free host sites that work well. Simple, clean, and clear is powerful. The point is to be easily accessible. Include an artist’s bio with your picture, contact info, pictures of your artwork, and any other relevant information. Make the site as unique and colorful as you are.

Have professional quality pictures taken of your art. Or invest in a camera, photo cube, and lights to take your own. Quality images sell your art. This is not the place to skimp.

Participate in one or two social media venues. Think quality over quantity. You’ll be more effective and enjoy the conversation more if you keep a tight rein on your online commitment. Contribute to topics, share ideas, help others when possible.

Get out there. It’s not easy to promote ourselves or our art. We’re artists not salespeople. But it’s important to be able to sell when appropriate. Put yourself in a position that makes you comfortable to talk about your art.

I was invited to be a guest on a local cable show. It terrified me. I went anyway, not knowing what to expect. It was a cheesy late-night show no one watched. It would be good experience if I was ever asked to be on a “real” show. Just before I went on stage my legs froze from the knees down. I couldn’t feel my feet. I was afraid I’d topple over like a bowling pin. I always thought that was just a stage fright myth. Nope. It really happens.

This is what I learned. It’s the host’s show. It’s all about the host, and 15 seconds about them talking about you. They only ask you questions about what you’re passionate about. For me it’s glass. I can talk about glass all day, comfortably and confidently. That was easy. If you’re slow to reply or stumble the host jumps in because dead air is lethal. And as we now know, it’s all about them.

The takeaway here is this: a very scary situation is not scary at all if you’re sharing your expertise and your love of your art. This is how I prime myself for public speaking engagements. I remind myself I’m talking about glass. That’s easy and fun. Take chances and put yourself out there.

I’ve been interviewed on live TV several times since. My legs don’t freeze anymore.

Wherever you are in your artistic journey you’re doing great. Keep learning and pushing forward. You have talent. I believe in you!

Happy fusing!

Lisa & Niki

Follow my blog for more tips and tricks!

1

Are you a lifelong learner?

As a life-long learner myself, I know it sometimes takes a change of scenery, a challenging new educational experience and the encouragement of an experienced instructor to advance my skills and help me grow.

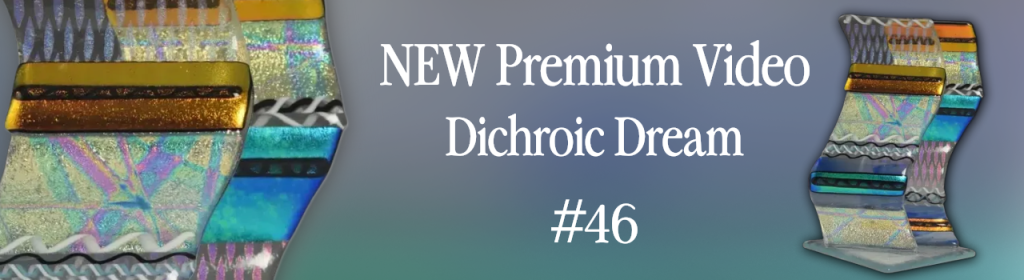
Are you ready to grow? Become a Premium Video Member Today and gain access to over 30+ Full length project courses with new courses added monthly!

IMG_7299

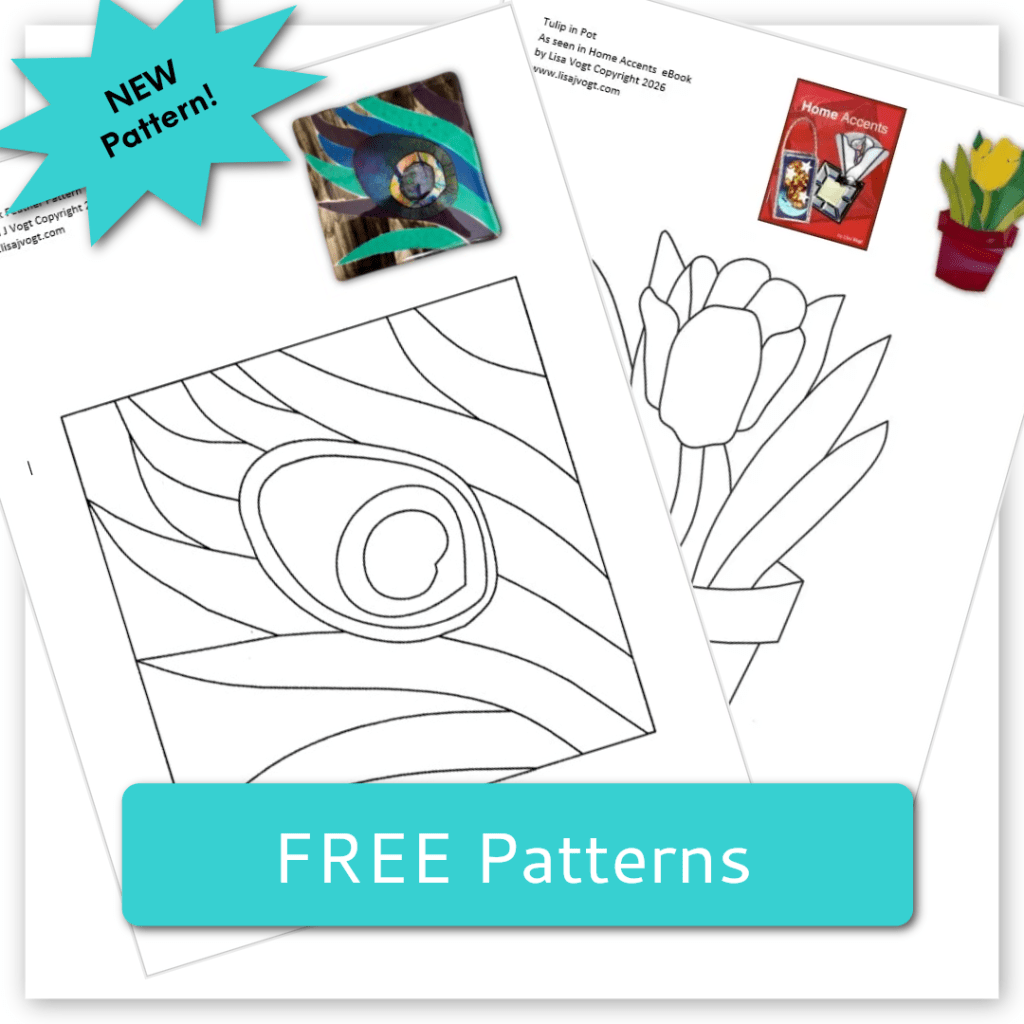
 Check out my eBooks for elegant patterns and detailed fusing instructions. 

Book covers

Posted on Leave a comment

Defy Conventional Thinking and Make Something Amazing in 5 Easy Steps.

Knowledge – Confidence – Inspiration

NEW Weave Bowl Project Video

Start with a unique oval shape.

The oval is an elegant shape traditionally associated with luxury and wealth. It’s a shape that’s easy to make in glass. I honestly don’t know why, we as high thinking creatives, don’t take advantage of its particular attraction more often.

I’ve used the weave technique many times to make square bowls and rectangular lanterns. The openness of the construction, and the playful overlap of colors combined with the fascinating texture all contribute to the charm of the finished piece. I thought to myself, how can I take this winning combination to the next level? The answer of course was to use this simple, but effective technique to make an unexpected oval shape.

Fabricate your piece with a distinctive glass weave technique.

My weave technique is super easy, surprisingly fun to use and produces very effective results. It’s simple. Pick a color palate and cut a series of ¼ inch wide strips of glass. Cut more strips than you think you’ll need to make your project. This way you have extra and won’t have to interrupt the assembly step to cut more glass. I used both transparent and opal glass, plus dichroic glass on clear.

Draw the oval shape on a primed or fiber paper covered kiln shelf. The weave is made with 4 layers of glass strips. I laid my strips out diagonally for added interest. Layout layer 1 leaving plenty of room between the strips for layer 3. Cut the pieces to size. I intentionally cut my pieces to create a fringe edge. Layout the strips for layer 2 in the opposite direction. Leave room between the strips for layer 4. Repeat with layer 3 and 4. Carefully load the kiln shelf and assembled project in the kiln. Fire to a Tack Fuse temperature.

Use the heat of your kiln to create your own custom results.

This project is tack fused together. At this temperature the resulting project retains the woven texture.  The pieces are heated to the point where they stick together, and the bond is strong enough for the project to support its own weight. The attractive textural quality is both visual and physical which makes the piece more engaging. Consider using the tack fuse temperature to add details and accent pieces to fused glass art to introduce another facet of interest. Here, on this weave bowl the tack fuse option really increases the level of sophistication of this piece of art.   

Slump your glass to give it a graceful profile.

Slumping adds elegance and a pleasing three dimensional quality to your fused glass art. The physical texture created by the weave is also greatly enhanced by the gradual curvature of the bowl shape.

Finish with a custom base worthy of your exceptional artwork.

Making a custom stand or base is equally as exciting as making a striking piece of art. It’s rewarding to follow thorough to the natural completion of a project with a display that shows it off. A base gives the art lift which immediately increases the perceived value and visual intricacy of the finished piece. It also allows light to go through the glass and cast reflections that enlarge the overall impression of the art.  Keep the stand or base simple. It should add to the art, not overpower it, or distract from it’s beauty.   

Keep the dream alive!

One of the many things I love about working with glass is the endless design and fabrication options that are available to us. There are an abundance of exciting new approaches waiting for you to discover when you venture down the less traveled path of experimentation. Let’s go!

Happy Fusing!

Lisa & Niki

Follow my blog for weekly inspiration sent to your inbox! 

Tell them how you really feel with sassy mugs, Eco-totes and bold T-shirts!

Downloadable instructional videos for every skill level.

Posted on 1 Comment

Make it Happen in 2025 – 3 Tips to Achieve Your Artistic Goals

Dancer, As seen in Sculptural Fused Glass Video.

It’s time for action. Take control of your artistic future!

Where do you see yourself at the year end? Dream big! Picture yourself there. What’s it going to take to make it happen? Set yourself up for success by allotting time and dedicating energy to making your dreams a reality.

It’s time to plan your year and buckle down to make sure you achieve your artistic goals. Planning can be as simple as a to-do list or as detailed as a mind-map. No more excuses or procrastinating. (You know who you are.)

I start by identifying my big picture goals. Then I list the individual tasks that have to be done to accomplish those set goals. I strive to tap and complete a portion of those smaller jobs every week. And before I know it, my work is moving steadily forward, and progress is being made in small, but positive ways.

Everglade, As seen on my website.

Here are some encouraging thoughts to motivate and inspire you to get started:

  1. Everyone has the potential to improve and grow their creative talent.

The only limitation is you. Allow yourself the freedom to explore, to fail and eventually to succeed. In my experience, the toughest, most difficult growth spurts I’ve experienced have directly led to the pivotal, ground-breaking techniques I use to fabricate my exhibition quality art today.

Wherever you are in your glass journey, whether you’re a beginner or advanced crafter there’s always more to learn. Artists benefit from instruction at every working level, especially advanced glass fusers. As the success of more complex pieces requires a solid understanding of a wide variety of techniques.

The most effective way to fast-track your creative style is to put yourself in a position to benefit from the expertise of other artists. Read articles, watch how-to videos, attend webinars and take hands-on classes.

Getting involved is inspiring. Plus, exposure to other active creatives puts you in a high energy, positive peer-pressure environment. It’s a nurturing atmosphere where you’re encouraged to challenge boundaries and cheered when you overcome obstacles. And, you’ll benefit from the practical fabrication tips that’ll strengthen your methods of construction, and at the same time further develop your artistic talent.

Heart 2 - Copy

  1. Trust your instincts and follow your heart.

Take a leap of faith and believe that your creative intuition is vibrant and valuable. Boldly step out of your comfort zone and try new designs ideas, work with unfamiliar materials and experiment with untested techniques. During the discovery phase the magic happens. That’s when unexpected possibilities come to light and spark new opportunities for creativity. Know that most great ideas were once crazy notions an inventor had the courage to try. Be that inventor and enjoy the exhilaration of producing surprising results and amazing glass art.

DSC_0345

  1. Surround yourself with positive influences and people who have achieved the kind of artistic success you want.

Positivity generates positive results. First, identify what artistic success means to you. For some glass artists it’s selling their work. For others it’s making one-of-a-kind pieces for themselves. For others it’s about the technical process they use to make glass projects.

Social media makes it easier than ever to get to know and feel a connection with well-known artists, experienced instructors and industry leaders. Seek out people and groups with interests that mirror your future goals.

Study their artistic methods. Soon you’ll see patterns you can identify with. Use that inspiration to develop your own design style and build your own brand. Take advantage of opportunities to meet and learn from the innovators you admire. They’re knowledge, expertise and practical tips will guide you to the higher level of artist success you crave.

Small steps in a forward direction lead to big success. You’re doing great!

Happy Fusing!

Lisa & Niki

Follow my blog for more tips and tricks! 


Shadow


Check out my Project videos 

Downloadable instructional videos for every skill level. Available here on my website. Book covers

Posted on Leave a comment

Beach Day Bowls How-to

Sunny, relaxing summer days are coming!

Here’s inspiration to give you a lift. It’s time to start thinking about delicious family picnics, breezy boat rides and warm sand between your toes. This series of bowls combines simple lines, a pleasing color palate and a whimsical touch of nature with classic seaside style. Beach Day Bowls are perfect accents for creating beachy comfort in your home all summer long.

When I come across a pattern that really brings me joy, I like to recreate that design in different sizes. Then I display the companion pieces around my kitchen and family room to set a seasonal mood throughout our living space. If you’re attracted to this pattern, consider making it in a few different sizes to get the most out of the simple, yet stylized ocean theme.

How-to make the bowls.

These bowls are made with two layers of glass. The base layer is clear glass. The second, design layer is made up of cut glass pieces. Start by cutting the clear base.

Wave 10 inch

Enlarge the pattern to your desired dimension.

Use the pattern as a guide to cut the design layer. Cut the paper up. Glue the paper to the glass with a glue stick. Cut the glass as close to the paper pattern as possible to minimize the amount of grinding needed.

1

Cut the glass as accurately as you can.

There are some deep, inside cuts in my pattern. Grind the pieces to improve the edge quality and overall fit of the design. Assemble the cut glass pieces on top of the clear base. Use fuser’s glue to affix the design layer to the base layer. It’s okay if your pieces don’t fit perfectly. Let the glue dry. This will prevent the glass from moving when you apply the frit.

5

Attention to detail makes a difference.

Use a spoon and pour fine blue frit on top of the glass. Use a paint brush to move the frit into the gaps between the pieces to fill in the space and add a linear detail. Remove any excess frit by sweeping it off the glass. Be meticulous about your cleanup. Doing your best work on every step will dramatically improve the quality of your finished artwork.

7

Use a razor knife and cut a bird footprint stencil out of stiff paper. I use file folders or poster board. You can also use plastic stencils available at your local craft store in the scrap booking department. Place the stencil on the area of the design that represents the sand. Sift powder brown frit over the stencil. Carefully lift the stencil off the glass.

8

Fuse the assembled project to a full fuse temperature using the firing guide on my website.

9

Place the fused glass on a slumping mold and fire it to a slumping temperature using the guide on my website.

DSCN2349

My bowls measure 10 inch x 10 inch, 6 inch x 6 inch and 4 inch by 4 inch. You can make these bowls in different sizes and get the same beautiful results.

Art Full Home Glass Fusing with Lisa Vogt video DVD front cover

Want to learn more? Check out my Artfull Home Video for 15 fast and easy projects.

Happy Fusing!
Lisa
Follow my blog for weekly inspiration sent to your inbox!