


Advancing is moving beyond your current skill level. It’s challenging your abilities and developing your talent and learning how you can make exceptional artwork that exceeds everyone’s expectations.
If this sounds like a huge, insurmountable task or an unrealistic goal for you, you’re not alone. Compressed into one sentence, the enormity of advancing ones craft can be a daunting motivation crusher. But don’t worry. Once we break down the steps you’ll be primed, ready and truly excited about taking action.
Here are three top tips pros use to break through and make exhibition quality art.

- Be a Master of Color.
Color plays an important role in the effectiveness of your art. The colors you select convey your message. You, as the artist have the power to swing the viewers mood from tranquil, bright and cheery to thought-provoking, stirring and stormy. When planning a new project, I consider what type of impression I want to leave and then select colors that support that intention. Reds are active and emotional. Blues are soothing, they suggest tranquility. While yellows represent happiness and contentment. Choose your colors carefully and then use them with purpose to draw the viewer into your magical world.

- Pick A Pattern.
Including patterns in your art is an essential way to increase the visual intricacy and attractiveness of your artwork. The whole idea is to capture interest and hold it as long as possible. Patterns add dimension which increases interest. This entices the viewer and engages them longer. Pattern also shows an increase in artistic exploration and creative skill on your part, and that always gets noticed.
Patterns can be simple and geometric or intricate and organic. I decide how to use pattern based on the artistic style I’m going for. For traditional designs, I like to use structured, linear patterns that illustrate organization and planning, while contemporary designs are great places to use free-flowing patterns. In effect they increase the visual movement throughout the artwork. Whatever style you chose, pattern adds drama that increases the visual quality of any piece.

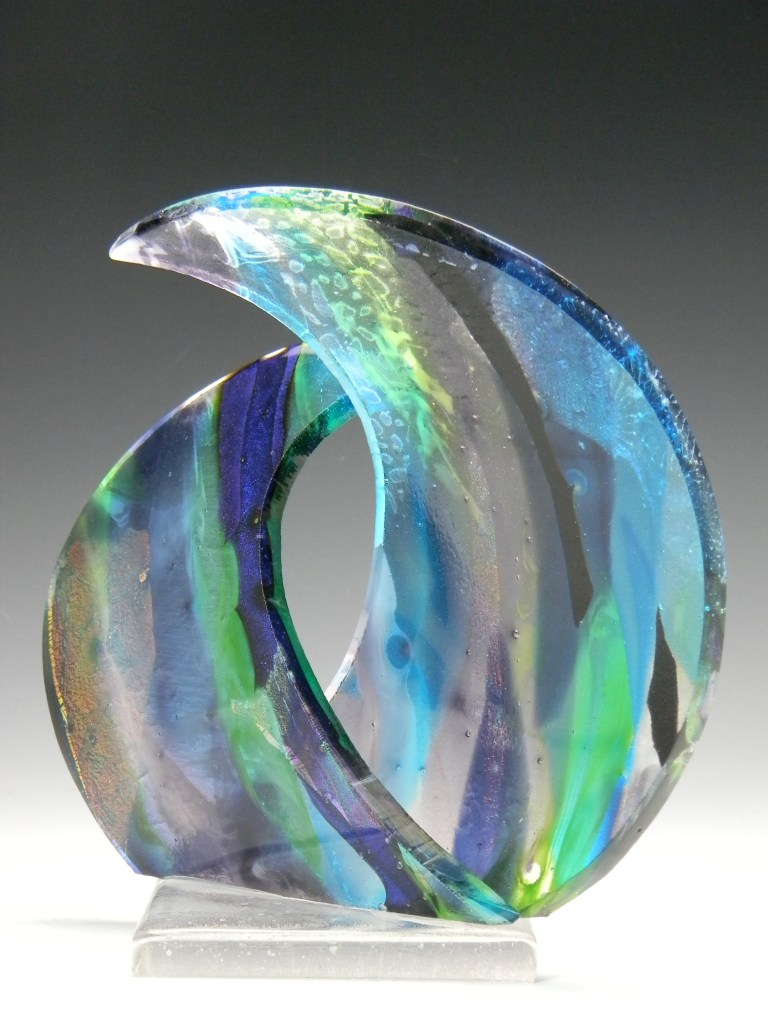
- Go Sculptural.
Shape up. The fastest and simplest way to ramp up your artwork and advance to the next level, is to create a unique shape, and go sculptural. Sculptural pieces always have higher visual impact that translates into an increased perceived value. This is the key to taking your work from a craft or a hobby to the threshold of fine art. We are so fortunate to be working with a medium that we can manipulate and shape any way we want. Take advantage of that and you can transform ordinary into the extraordinary.
Try using slumping molds in different ways. I combine molds to build unique shapes no one else has seen. Or I fuse several small pieces and then glue them together to create a freestanding, three dimensional tower. You can do it too. Start small. Then as you gain confidence go bigger and more elaborate.
The big difference between making ordinary pieces and repeatedly producing one-of-a-kind original art is planning.
When it’s time to make something new and exciting I begin by asking myself, what style do I want to make? Then I consider what mood the art should provoke and select an appropriate color palate. Then I layout a pattern that will reinforce my selected style. My next step is to plan what form the finished artwork will take. I ask myself, how can I manipulate the shape of the glass and display it in a unique and unexpected way that will be amazing? Then I begin the process of construction.
I don’t always have all the answers at the beginning. But I do follow my original plan to its natural end. Often, new directions present themselves during fabrication, but I stay true to my plan. I’ll take notes on the new possibilities and revisit them later with my next new undertaking. Sometimes deviations are inevitable, like when an idea or technique fails to produce the results I had hoped. Then I go back to the first three tips, regroup and forge ahead.
If improving your glass skills and growing your artistic style are on your 2021 list, I’m here to help you achieve success. I hope this insight helps you overcome obstacles so you can make the art of your dreams.
Wherever you are in your artistic journey, you’re doing a great job! Keep going. Never settle. You are an amazing talent. Shine on!
Except from my Sculptural Fused Glass Workshop
Happy fusing!
Lisa
Follow my blog for more tips and tricks!
Artist Website www.LisaVogt.net
YouTube http://www.youtube.com/watch?v=dhOifd7wukk
Facebook www.Facebook.com/LisaJVogt
Author Website https://lisajvogtcom.wordpress.com/
Twitter https://twitter.com/lisajvogt
Instagram https://www.instagram.com/lvogt_originalsinglass/

Sculptural Fused Glass, 4-Day, Hands-on Workshop May 25-28, 2021
Register today! 4 seat available.
Register here!
Wesley Chapel, Florida, 4-Day, Hands-on, Class size is limited.
This is the turning-point workshop you’ve been waiting for.
It’s hard to describe what it’s like when I’m feeling the creative flow. Time flies. Hours pass in what I thought were minutes. My naturally distracted mind is focused on what my hands are doing, and nothing else. I get lost in my own world. When I return to reality, I feel rejuvenated and spiritually uplifted. That’s why I like sharing my studio space with others. I try to give them that experience and hope they feel the same inspiration and fulfillment I do. -Lisa
This class is for you! Any skill level can attend. Beginner, intermediate and advanced students alike will learn how to advance their glass fusing skills and expand their artistic style.
Join me and I’ll show you all the pro tips and tricks I use to make stunning 3-dimnesional art. You’ll learn how to combine advanced techniques in new ways to create extraordinary sculptural pieces of art.
You’ll leave class with several completed glass sculptures, my custom firing guides and a deeper understanding of sculptural fused glass fabrication. You’ll have the knowledge, confidence, and inspiration you’ve been craving to take your artwork to the next level.
Materials are included, that’s a $150.00 value!
Here’s what students from my February 2021 class are saying about the workshop.
“I feel I got the movement toward developing my own creativity this week. I was surprised that the things I already knew fit into the new knowledge I was getting in this class. Lisa is an excellent teacher who is tuned into what is going on in the class. She puts no pressure on the students when I know she could when we were dragging our feet. I was absolutely comfortable with the classroom set up and cleanliness of the studio. Will see you again soon.” -Judy
Here’s what the students from my November 2020 class are saying about the workshop.
“There is a wealth of material, tools and possible projects. Lisa is very motivating, informative, and supportive. The variety of materials is amazing. The number of projects we made in 4 days is beyond what I expected. The classroom set up was very well organized. I felt completely comfortable and safe with plenty of space and sanitizer. This class was beyond my expectations.” -Jane
“My favorite thing was Lisa’s knowledge and wealth of information. I was surprised by how many projects we made. I was very comfortable with the classroom set up and loved everything about this class. I learned so much and it was fun. My least favorite part was Friday at 4:00 pm.” -Liz
“My favorite thing about this class was the variety of glass and other materials. Unlimited dichroic! I was comfortable with the classroom set up; Lisa had lots of little personal touches that made it special. Thanks for the wonderful lunches!” -Gail

NEW Artwear Designed for Artists by Artists Tell them how you really feel with bold T-shirts, Eco-conscience tote bags and sassy mugs.

Watch it NOW! Start fusing today!
Downloadable instructional videos for every skill level.

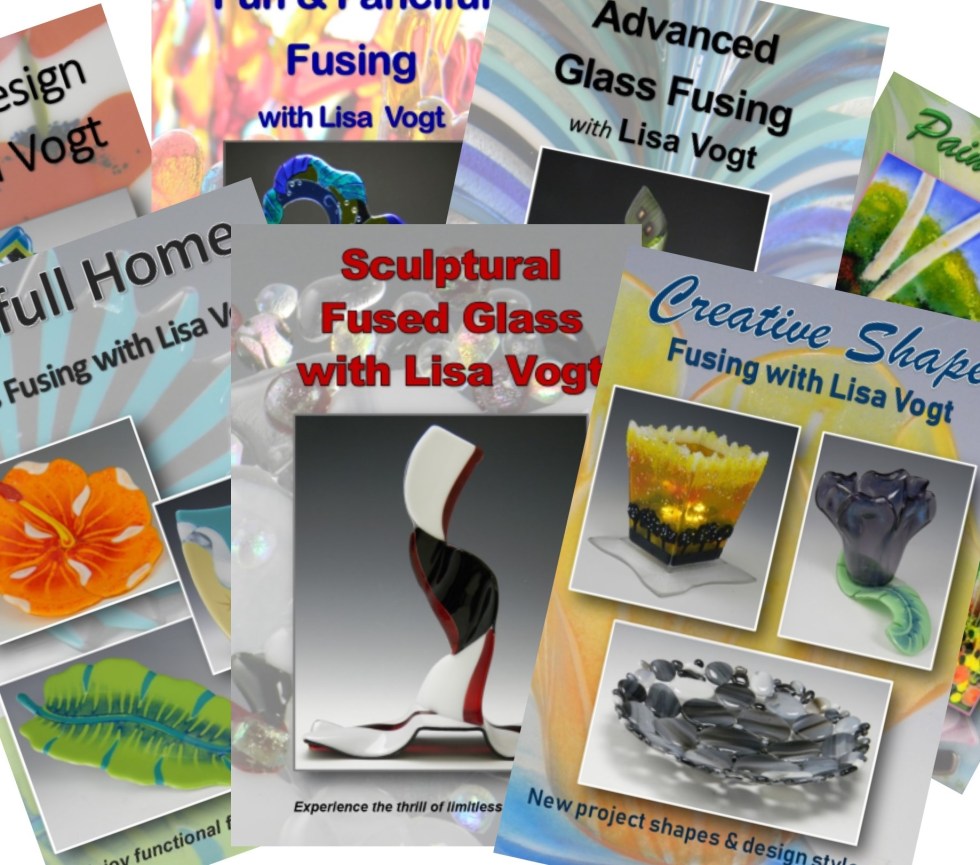
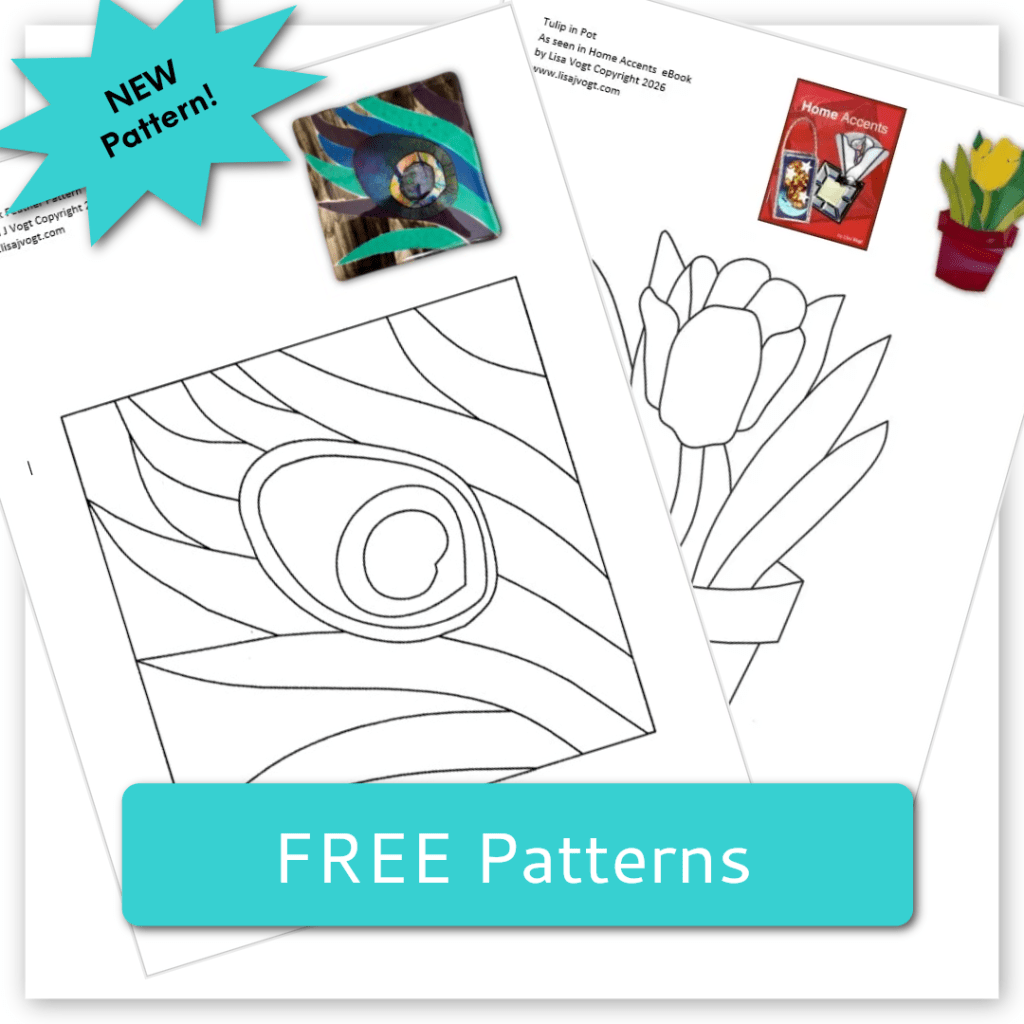
Check out my eBooks for elegant patterns and detailed fusing instructions.