


Being artsy and creating original art is exciting. It feeds the mind, body and soul with inner joy and peace.
Glass fusing has broad appeal due to the ease at which plain sheet glass can be transformed into flashy pieces of art. It’s this facet that makes this medium attractive to artists and crafters who love hands-on immersion.
But glass fusing is different from other mediums. Kiln operation and following firing guidelines make glass fusing science as much as art. Of course, you can ignore that reality. Stay in the safe zone, using pre-programed kilns and adhering to standard firing schedules. Copy and make the same reliable projects that everyone else is sharing. But the real exciting creations are inspired by stepping outside of your comfort zone. To stretch your imagination and take your art to an all new level of amazing, you must take your work more seriously.
Approach your hobby like a pro.
Get organized. The best way to master the technical aspects of science, and benefit from your process is to take notes of your work in progress. Once the technical aspects are under control, the artist is free to focus on the creative development of the art.
You argue, why stop the creative flow to take boring notes?
Here’s why the pros take notes.
1 Creative inspiration.
We’re human. We forget intricate details. Remembering the big, broad strokes is easy. It’s the tiny nuances that drift away like fluffy dandelion seeds on the wind. These seemingly insignificant concepts are what make your art your own, unique creations.
Pros take notes even when making routine pieces. They know that new design ideas come from recycling and reorganizing old tried and trusted design ideas. Often, my groundbreaking innovations are the product of combining an unlikely variety of tiny concepts. I pull minor techniques from previously made art and merge them to develop a single new creation.
Plus, if you’re consistent and establish good note talking habits, you’ll free up mind space previously dedicated to remembering your methods. This open-air gives new ideas room to live and grow.
2 Find encouragement.
A notebook is black and white proof you’re making progress. No matter how small, every entry is positive reinforcement that you’re learning new things, trying new techniques, and growing your creative style. It’s a tribute to hard work and an ego boost whenever you need encouragement to forge ahead.
Success is a terrific confidence builder. When you have a notebook full of great success stories it promotes cheerful production. At any time, you can flip through those messy pages and marvel over all the beautiful pieces you’ve made.
It’s a thrill to revisit simple projects you thought you’d outgrown. You remember how much fun it was to lose yourself in the creative zone and consider remaking old favorites for the joy of it. That’s priceless.
3 Build self-confidence.
By taking detailed notes of a project’s progress as its made, it’s easy to repeat successful projects with confidence. I consult my notes when I want to repeat projects quickly and easily with accuracy.
Notes are also a great reference for new project development. With them I can plan new design directions knowing what outcome to expect from certain advanced techniques. This knowledge frees me to focus my full attention on creating a revolutionary new design.

4 Learn from your mistakes.
Another, huge benefit to cataloging your methods is you can retrace your steps backwards when disaster strikes to pinpoint where it went wrong. It’s a valuable teaching tool you can use to learn from your mistakes. With notes you can efficiently repeat your successes and avoid failures in the future.
In my experience, taking notes drastically improves the overall quality and success of my projects. Documenting assembly and firing methods minimizes problems and gives me the self-confidence to experiment.

5 Trail blaze new ideas.
Pioneering new design concepts is exciting and scary. When I’m commissioned to design original art, I consult my fusing notebook for guidance. I look up projects that are similar in size and thickness to the new job. I study projects that are larger and projects that are smaller. With that information, I develop a custom firing schedule for the new job. I write a program that’s conservative, to avoid breakage, and yet gives me the desired results I promised the client.
Like you, I don’t want to waste time, money, or material on failures. We all want to start a project knowing that the finished artwork will bring our beautifully imagined vision to life. If it doesn’t, the failure is devastating. By taking notes, you can approach new design ideas with greater confidence. By knowing the parameters that have worked successfully in the past, you can take on more challenging projects and enjoy success in the future.
Pros make it a habit.
Taking notes is the best thing you can do to improve the quality and increase the complexity of your art. Good habits are as hard to break as bad habits. Form good habits.
Be a pro.

Happy fusing!
Lisa
Follow my blog for more tips and tricks!
Artist Website www.LisaVogt.net
YouTube http://www.youtube.com/watch?v=dhOifd7wukk
Facebook www.Facebook.com/LisaJVogt
Author Website https://lisajvogtcom.wordpress.com/
Twitter https://twitter.com/lisajvogt
Instagram https://www.instagram.com/lvogt_originalsinglass/
My April 2021 Class is SOLD OUT!
NEW DATE!
Sculptural Fused Glass, 4-Day, Hands-on Workshop May 25-28, 2021
Register today! 4 seat available.
Register here!
Wesley Chapel, Florida, 4-Day, Hands-on, Class size is limited.
This is the turning-point workshop you’ve been waiting for.
It’s hard to describe what it’s like when I’m feeling the creative flow. Time flies. Hours pass in what I thought were minutes. My naturally distracted mind is focused on what my hands are doing, and nothing else. I get lost in my own world. When I return to reality, I feel rejuvenated and spiritually uplifted. That’s why I like sharing my studio space with others. I try to give them that experience and hope they feel the same inspiration and fulfillment I do. -Lisa
This class is for you! Any skill level can attend. Beginner, intermediate and advanced students alike will learn how to advance their glass fusing skills and expand their artistic style.
Join me and I’ll show you all the pro tips and tricks I use to make stunning 3-dimnesional art. You’ll learn how to combine advanced techniques in new ways to create extraordinary sculptural pieces of art.
You’ll leave class with several completed glass sculptures, my custom firing guides and a deeper understanding of sculptural fused glass fabrication. You’ll have the knowledge, confidence, and inspiration you’ve been craving to take your artwork to the next level.
Materials are included, that’s a $150.00 value!
Here’s what students from my February 2021 class are saying about the workshop.
“I feel I got the movement toward developing my own creativity this week. I was surprised that the things I already knew fit into the new knowledge I was getting in this class. Lisa is an excellent teacher who is tuned into what is going on in the class. She puts no pressure on the students when I know she could when we were dragging our feet. I was absolutely comfortable with the classroom set up and cleanliness of the studio. Will see you again soon.” -Judy
Here’s what the students from my November 2020 class are saying about the workshop.
“There is a wealth of material, tools and possible projects. Lisa is very motivating, informative, and supportive. The variety of materials is amazing. The number of projects we made in 4 days is beyond what I expected. The classroom set up was very well organized. I felt completely comfortable and safe with plenty of space and sanitizer. This class was beyond my expectations.” -Jane
“My favorite thing was Lisa’s knowledge and wealth of information. I was surprised by how many projects we made. I was very comfortable with the classroom set up and loved everything about this class. I learned so much and it was fun. My least favorite part was Friday at 4:00 pm.” -Liz
“My favorite thing about this class was the variety of glass and other materials. Unlimited dichroic! I was comfortable with the classroom set up; Lisa had lots of little personal touches that made it special. Thanks for the wonderful lunches!” -Gail
Student comments from previous classes.
“My favorite part about the class was the non-stop building and the generous amount of materials available. What surprised me about the class was how full the schedule was. Usually, you do 1 project. We did 5 in 4 days. Thank you so much for your generosity.” -Christine
“My favorite part about the class was the variety of projects we made. What surprised me was the number of projects we completed. Awesome experience – will come again in the future.” -Monica
“Instruction was clear, help was always available, and Lisa’s explanation of the equipment was great.” -Sherry
“My favorite thing about the class was the friendly atmosphere that encouraged open thoughts and sharing ideas.” -Lyn
“I enjoyed making all the projects, especially the flow piece and the freedom to be creative with our work.” -Joy
“My favorite thing about the class was the ability to see multiple pieces of art that originated from concepts taught.” -Vicki
“Lisa is very professional, knowledgeable and freakishly talented. House, art, mosaic, her work – really fun and beautiful.” -Lorna
“Incredible class. Lisa shared her artistic knowledge of color flow and her technical knowledge of glass.” -Larry
“I had so much fun! Lisa is a great teacher!” -Brenda

NEW Artwear Designed for Artists by Artists Tell them how you really feel with bold T-shirts, Eco-conscience tote bags and sassy mugs.

Watch it NOW! Start fusing today!
Downloadable instructional videos for every skill level.

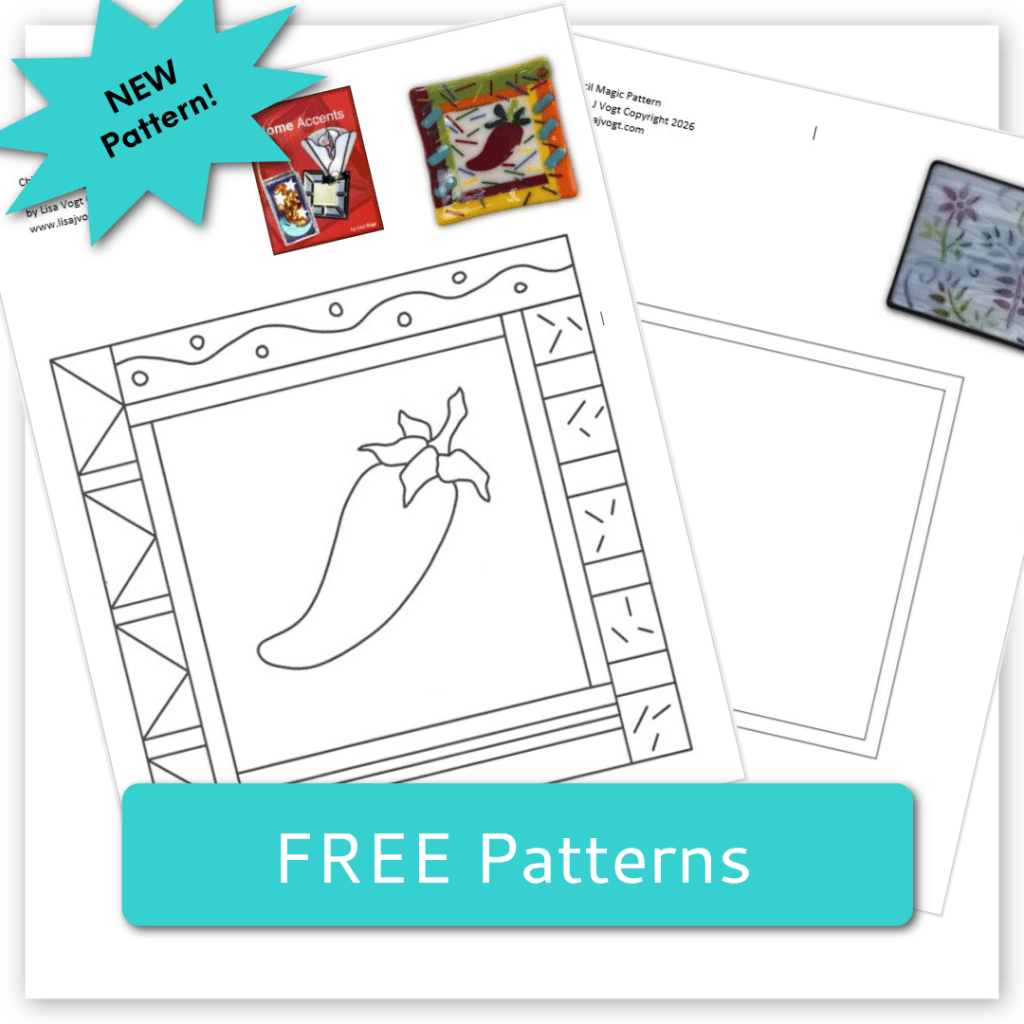
Check out my eBooks for elegant patterns and detailed fusing instructions.