

Beautiful art and good food have a lot in common. Art is memorable when it exceeds a purely visual purpose. Extraordinary art engages the viewer, stirs their emotions, and frees their sense of wonder. Skilled artists create art that draws attention visually and then stimulates a personal connection with the viewer for a mind and body experience. Likewise, gourmet chefs know presentation is everything. They pair foods with complementary flavors and pleasing colors to appeal to all the senses. Top cooks know a truly delicious meal experience begins with the anticipation of the first savory bite.
When designing new pieces of art, I apply these multifaceted concepts from the beginning. I select a pleasing shape that enhances my design idea. Then I pair a complementary color palate with an engaging subject matter.
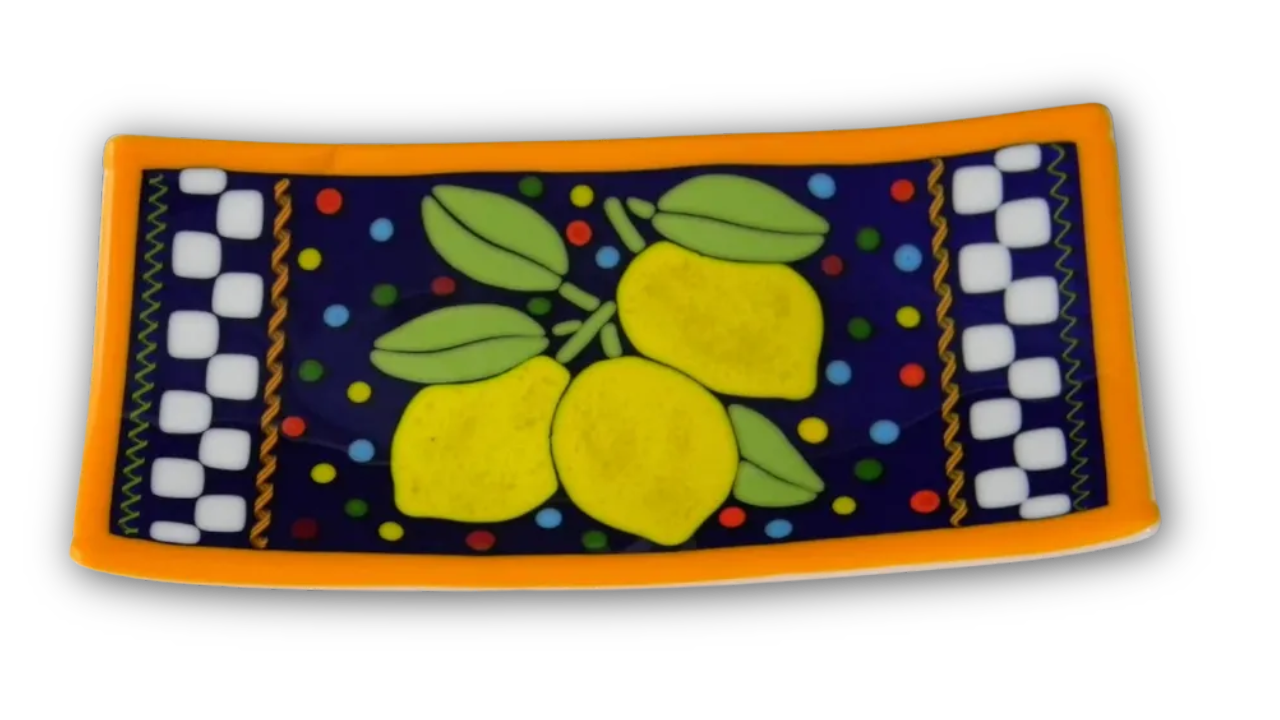
Before I drew the design, I imagined this vivid lemon tray brightening up my dark kitchen counter. I felt the cluster of yellow lemons and bright green leaves arranged on the royal blue background embodied the essence of lighthearted cheer. I believed the giving fruit would bring the joy and comfort that we enjoy during family meals to the hard-surfaces.
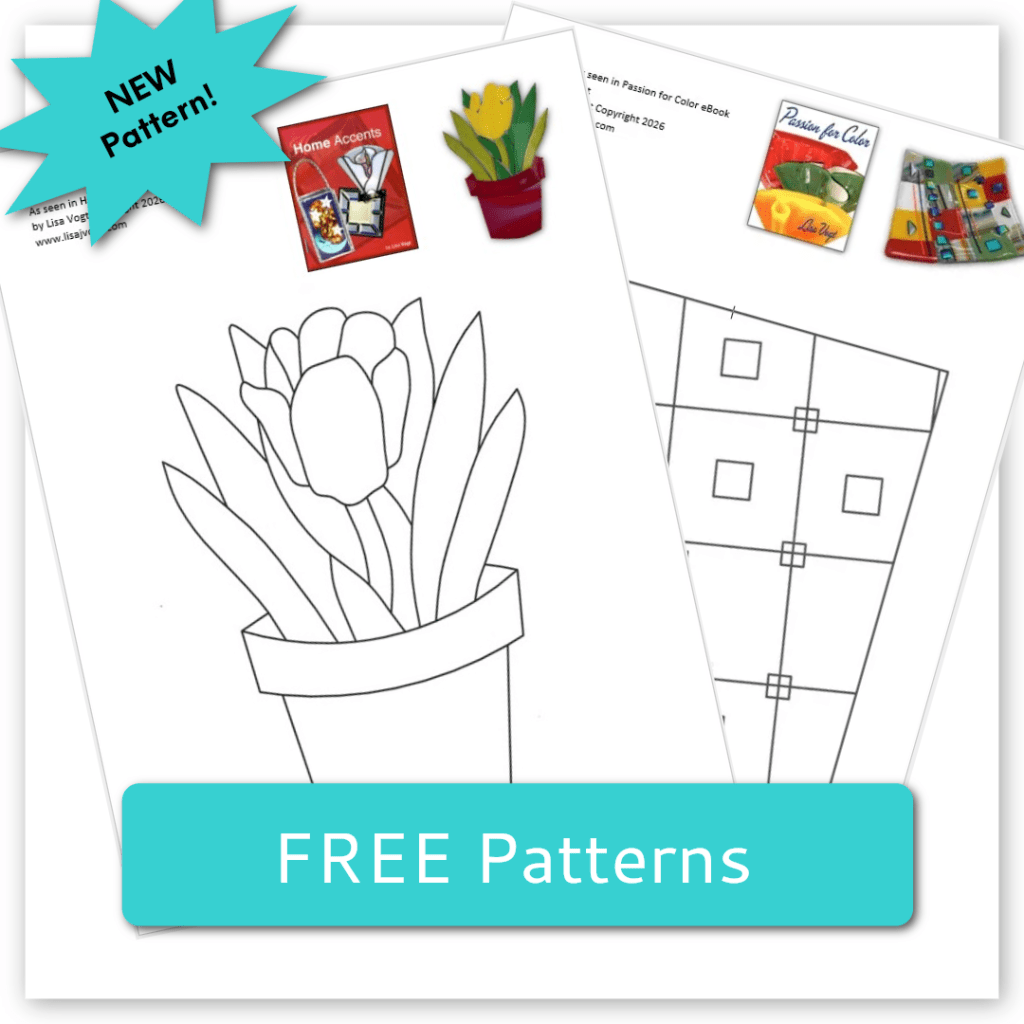
You can make art that lifts the mood in your home too. Here’s how to make the Lemon Tray.

This tray is 7 in. x 14in. It’s made with two layers of glass plus accents.
Tip: Clean the sheet glass prior to cutting. I wash the glass with plain water and dry it with cotton towels.
Base Layer: Cut a 7 inch by 14 inch rectangle out of clear glass for the base layer.
Design Layer: Cut 4 – ½ wide strips of opal orange or yellow glass for the outer border. Cut the strips to size. Cut the blue background glass to 6 inch by 13 inch.
Arrange the yellow border and blue background on the clear base. Glue the pieces in place with fuser’s glue. The glue keeps the glass from sliding when you load the assembled project in the kiln. Set the glass aside and let the glue dry.

Accent Layer: Draw the lemons and leaf pattern on paper. Cut the pattern up with scissors. Use a glue stick to affix the cut paper pattern pieces to the appropriate glass. Use opal yellow glass for the lemons and opal green glass for the leaves. Grind the cut glass to remove any sharp edges and improve the glass fit. Clean the ground glass with water. Dry the glass with a towel.

Arrange the cut lemon and leaf pieces on the blue background. Glue them in place with fuser’s glue.
Tip: Use the smallest amount of glue possible so it burns off without leaving any residue behind.

This is your opportunity to be the artist.
Decorate the background with fusible materials that you have on hand. Cut squares. Use stingers or noodles. Don’t worry about duplicating my design exactly. Instead, have fun with it. For best results, I recommend using high contrast colors and opal glass for maximum visibility and impact.
Here’s how I decorated the background. Cut twisted cane to size. Arrange the cane on the background. Snip murrine into pieces with mosaic nippers. Place the murrine on the blue field to create dots. Cut a narrow strip of white glass into squares. Arrange them between the cane. Glue the decorations in place so they don’t roll when you carry the assembled project to the kiln. Sprinkle clear, medium size frit on the lemons. This gives the flat yellow glass the illusion of texture.
Fuse and slump the project using the firing guides on my website.

When making your next piece of art dig deeper than the obvious. Great art is more than eye candy. Consider what you want your art to convey beyond being pretty. It can stimulate good moods, add a refreshing airiness to your space and bring positive energy to your life.


Follow my blog for weekly inspiration sent to your inbox!
Happy Fusing!
Lisa
Upcoming Class!
Advanced Glass Fusing Class
4-Day, Hands-on Class, Wesley Chapel, FL
ONLY 3 SEATS LEFT!
February 4-7, 2025

YOU can make gallery quality fused glass art! You’ll love the personalized instruction in this exciting advanced technique, artistic awakening and skill building workshop. This is the turning point experience you’ve been waiting for.
Someday is here! What are you waiting for? You’re in your prime. You’re at the peak of your interest in glass fusing. Take the next step and raise your artwork to an exciting new level of sophistication.
Join me for this intense workshop held in my private studio.
Wesley Chapel, Florida, 4-Day, Hands-on, Class size is limited.
In this class, you will push the boundaries art glass imposes. Students will explore innovative approaches to design and combine multiple advanced techniques to construct original art that reflects their own personal style. You’ll enjoy: the one-on-one instruction, making multifaceted projects, the well-equipped classroom, and the intimate class size.
You’ll love the concentrated, in-depth study and creative momentum you’ll gain while actively producing, nonstop for four consecutive days. You’ll leave class with a working knowledge of kiln operation, custom project specific firing guides, and the inspiration you’ve been craving to go bigger and do more elaborate works of fused glass art!
Join me and take your glass fusing to the next level!
Premium Video Courses by Lisa